Night Hiking Skills: How To Use Your Headlamp Without Losing Night Vision
Author:Alina
|
Released:February 8, 2026
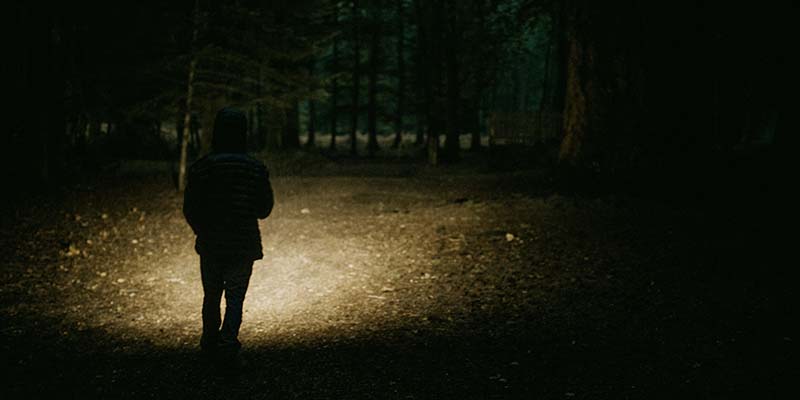
It takes 20 to 30 minutes to have your eyes adjusted to the dark, and a single flash of bright white light can set that adaptation back immediately. Night hiking skills involve understanding when and how to use the headlamp effectively.
These tricks will assist you in moving through dark trails without compromising the natural eyesight that keeps you secure between light sources.
How Your Eyes Adapt to Darkness
Two kinds of photoreceptors are used in your eyes. In bright light, cones process color and detail, whereas in dark light, rods process movement and shapes. The rods have a protein known as rhodopsin, which breaks down when subjected to bright white light.
According to the National Park Service, it takes roughly 20 to 30 minutes to rebuild rhodopsin, which is why it is important to preserve night vision when walking down black trails. [1].
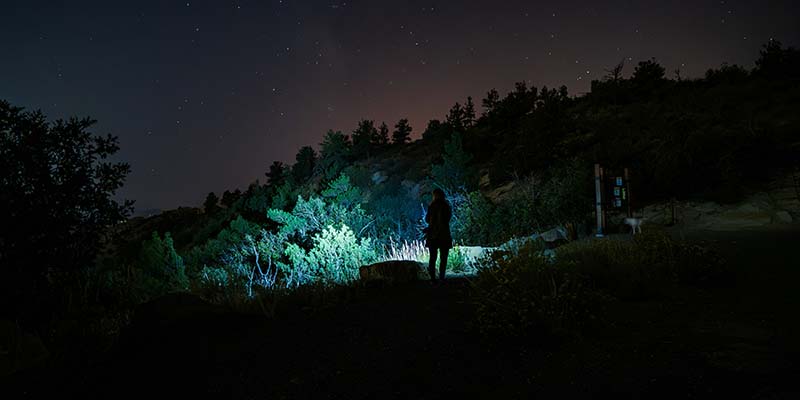
When you get used to it, you will find that you can see remarkably well in starlight or moonlight alone. There are even a large number of night hikers who walk an entire trail without artificial light. Using headlamps all the time makes hiking more difficult since your eyes never have an opportunity to fully use their low-light abilities. That is why experienced night hikers often limit headlamp use to short, specific moments instead of leaving it on continuously.
Why Red Light Mode Exists And When To Use It
The red light setting on the headlamp saves rhodopsin since the rod cells are the least sensitive to red light. You may read a map, inspect your gear, or locate something in your pack without needing to re-adjust your night vision. When doing tasks that require close-up visibility but not viewing the trail ahead, switch to a red mode.
How To Use Your Headlamp Without Losing Night Vision
There are restrictions to red light. It distorts depth, and some colors cannot be discerned, so do not use it on technical terrain where you need to estimate the stability of rocks or the position of roots. Camp chores, rests, and trail checks on level trail should be left to red mode.
Red light is especially useful when you are at camp, checking a map, changing layers, adjusting your pack, or finding food. If you are hiking on uneven ground, crossing roots, or stepping over rocks, white light is usually safer because it shows texture and depth more clearly.
Matching Brightness To Trail Conditions
A majority of the hikers put their headlamps on full intensity and wonder why they are unable to see anything out of the beam. The high lumens make it appear like a tunnel in which the bright center of the light dazzles you with everything on the outer edges of your vision. The American Hiking Society suggests that you need to begin at your lowest level, and only upgrade when terrain requires it [2].
Broad, smooth tracks do not often require over 50 lumens. Use your high beam when in tight technical parts where there are loose rocks, roots are exposed or the drop-off is steep. Once you are out of tricky terrain, turn down the brightness as fast as you can to allow your peripheral vision to adjust.
Adjusting Your Beam Angle For Better Visibility
When your headlamp is pointed too high, the light will be scattered into the darkness without lighting your footing. Go too low and you will skip hurdles until they are right in your path. Point your headlamp at such a distance that the beam will strike the ground between 10 and 15 feet in front of you. This distance provides you with time to react enough, and light is concentrated where you need it.
When going down, lean a bit forward to have a glimpse of what your feet should be on. On climbs, bring the beam closer since your next step is almost directly below your line of sight. Always keep adjusting according to the terrain instead of having one angle for the whole hike. On steeper descents, aim slightly farther ahead so you can read the slope before your foot lands.
A useful habit is to keep the beam low enough that it lights the trail, not the treetops. If you can see a lot of glowing branches and very little ground, your lamp is probably aimed too high.
The Intermittent Light Strategy
Experienced night hikers do not always use their headlamps all the time. Flash a moment to reconnoiter the next 30 to 50 feet of trail, and then switch off and walk the next section with natural vision. Even after the light has been switched off, your eyes still retain a mental map of the terrain for a few seconds.
This method has a dramatic battery life, and it trains you to have confidence in your adapted vision. Begin with practice on known trails, and only then leave and use intermittent lighting on unfamiliar trails. With time, you will discover that you will hardly be using the headlamp, and you will be enjoying the night environment.
The main advantage is contrast recovery. When the light goes off, your eyes can quickly register moonlight, silhouettes, and trail shape instead of constantly resetting to bright white light. That makes the next dark section feel more readable.
Choosing A Headlamp With The Right Features
Identify headlamps that have more than two brightness settings, as opposed to high and low. An actual dimming control allows you to set the precise amount of lumens that you require. Red light mode is compulsory, although green light mode is more advantageous when it is provided on your headlamp. Headlamps that have a lock mechanism are recommended by REI to avoid inadvertent use in your pack [3].
Flood beams are used for most night hiking as they provide a larger area with lesser intensity of light compared to spot beams. Spot beams produce severe shadows, deceiving the challenges. Others have headlamps with a combination of both types of beams and can be switched between either distance or close-range illumination.
Other features worth looking for are a memory mode, so the lamp turns back on at your preferred setting, and a simple button layout you can operate with gloves on. A lightweight lamp also matters more than many hikers expect, because even small discomfort becomes noticeable after hours on the trail.
Own The Night Trail
Night hiking exposes trails to lower temperatures, wildlife experiences, and a whole new sensory experience. Darkness becomes an asset when you are not struggling to eliminate it with an endless light. Test these headlamp skills on short evening hikes and then attempt longer routes after sunset.
Allow time to adjust your eyes first. Turn on the minimal brightness that can keep you safe. Relish the red light on camp work and the darkness itself on easy trail. Your headlamp is an instrument of certain times, not the supplement of the wonderful night sight of which your eyes already command.
References
[1] Dark Adaptation of the Human Eye and the Value of Red Flashlights https://www.nps.gov/articles/dark-adaptation-of-the-human-eye-and-the-value-of-red-flashlights.htm
[2] Hiking Safety Tips - American Hiking Society https://americanhiking.org/hiking-safety-10-essentials/
[3] How to Choose a Headlamp - REI Expert Advice - https://www.rei.com/learn/expert-advice/headlamp.html
Related Posts
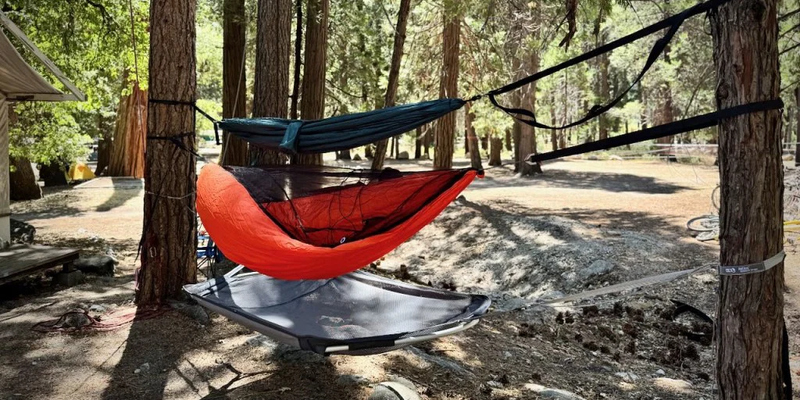
Outdoor Gear
Best Hammocks for Camping, Backpacking, and Relaxing Outdoors
Guides and Tips
How To Descend Steep Trails Without Destroying Your Knees
Outdoor Gear
How to Choose the Best Water Bottles for Hiking and Travel
Outdoor Gear
Hiking Tech Safety Gear: Top Smart Devices Reviewed
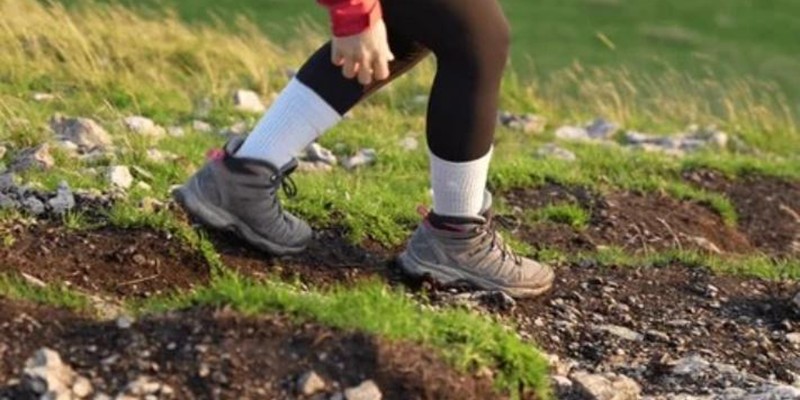
Guides and Tips
Best Hiking Boots for Beginners in 2026: Simple Choices That Work

Destinations